
Your cart is currently empty!
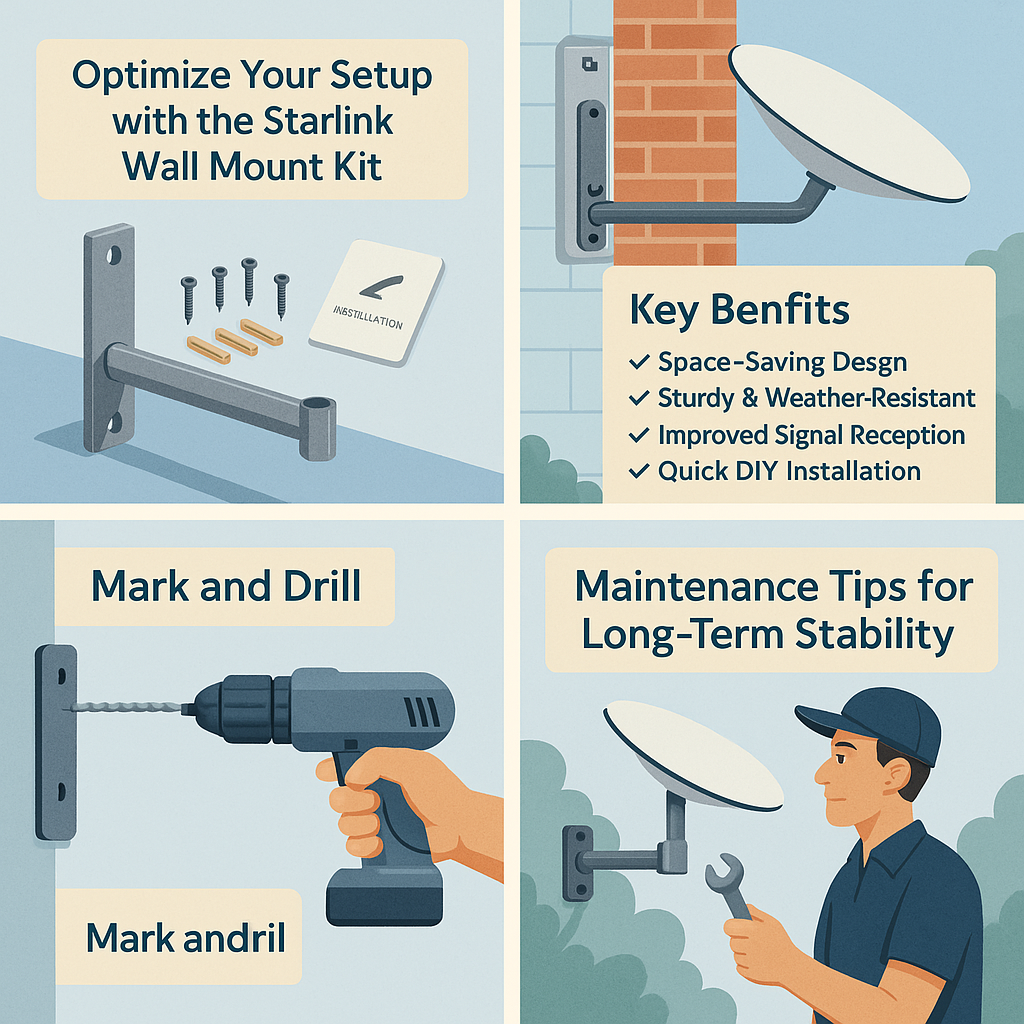
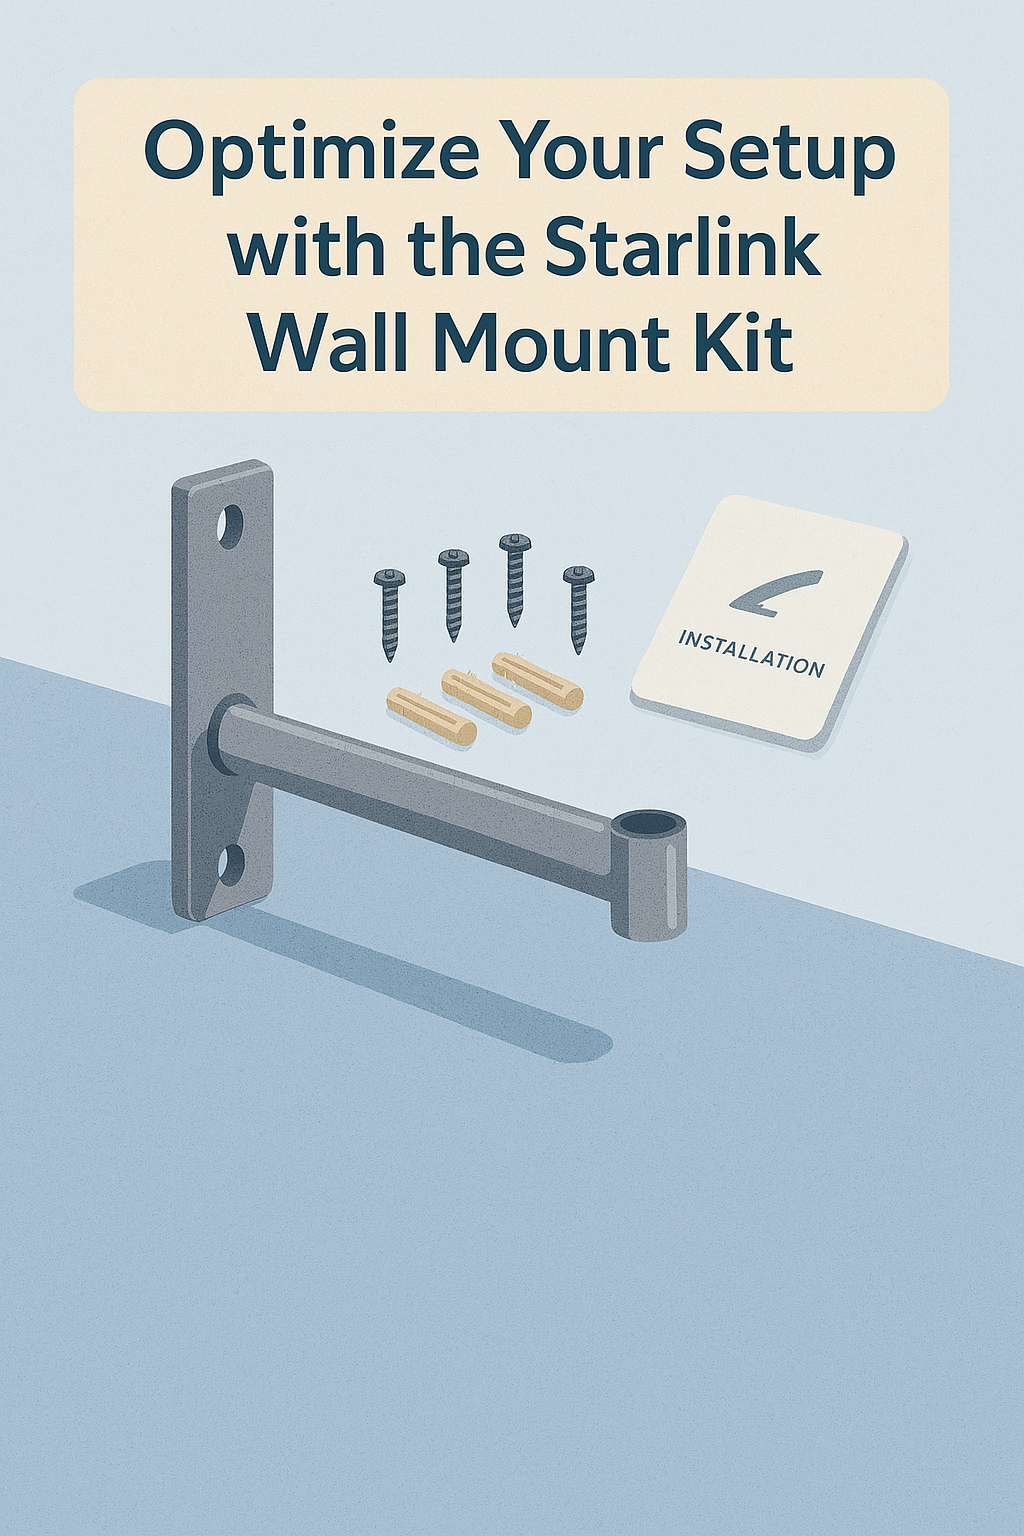
Optimize Your Setup with the Starlink Wall Mount Kit
If you’re setting up Starlink satellite internet and need a reliable, space-saving way to mount your dish, the Starlink Wall Mount Kit is the perfect solution. This kit allows for a secure, clean installation on the side of your home, building, or pole, providing an optimal line of sight to the sky for stronger signal performance.
In this post, we’ll cover:
✅ What’s included in the Wall Mount Kit
✅ Benefits of wall mounting your Starlink dish
✅ How to install it safely
✅ Where to buy and get professional help
 🔹 Why Choose the Starlink Wall Mount Kit?
Installing your Starlink dish on a wall helps achieve better stability, safety, and signal reception, especially when roof access is limited or not preferred.
✅ Key Benefits:
✔ Space-Saving Design – Ideal for homes or buildings with limited roof access
✔ Sturdy & Weather-Resistant – Built to withstand strong winds and outdoor conditions
✔ Improved Signal Reception – Raises your dish for a clearer view of the sky
✔ Quick DIY Installation – Includes mounting hardware for most wall surfaces
✔ Compatible with all Starlink dish types
📌 Perfect for residential, commercial, or off-grid installations.
 🛠 What’s Included in the Starlink Wall Mount Kit?
The Starlink Wall Mount Kit typically includes:
-
A heavy-duty wall bracket
-
Pole adapter or mounting arm
-
Screws and weather-sealed anchors
-
Installation guide
All materials are corrosion-resistant and designed for outdoor durability.
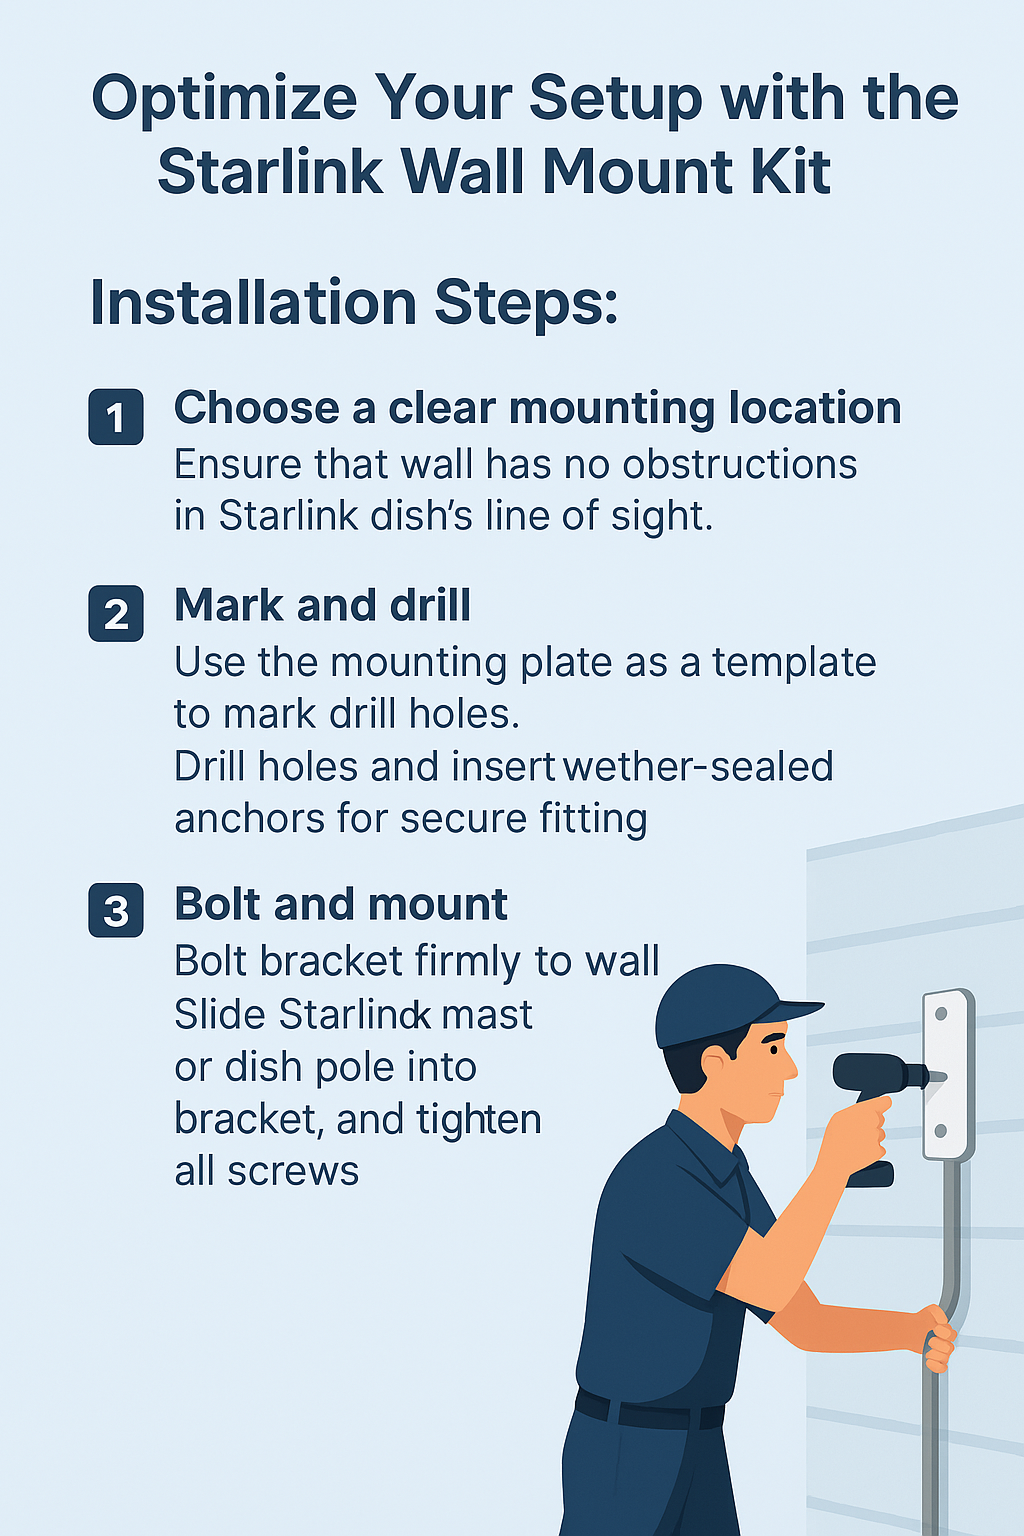 🧰 How to Install the Starlink Wall Mount Kit
✅ Step 1: Choose a Clear Mounting Location
Ensure the wall has no obstructions in the dish’s line of sight (trees, buildings, etc.). Use the Starlink app’s obstruction tool to confirm.
✅ Step 2: Mark and Drill
-
Use the mounting plate as a template to mark drill holes.
-
Drill holes and insert weather-sealed anchors for secure fitting.
✅ Step 3: Secure the Mount
-
Bolt the bracket firmly to the wall.
-
Slide the Starlink mast or dish pole into the bracket and tighten all screws.
✅ Step 4: Connect & Align
-
Plug in the Starlink cable and align the dish to the sky.
-
Use the Starlink app to test signal strength.
📌 For complex installs, consider hiring a professional technician.
🧼 Maintenance Tips for Long-Term Stability
✔ Inspect the mount every few months for rust or loose screws
✔ Clean debris like leaves or bird droppings that might affect the dish
✔ Ensure cable lines remain secured and weather-protected
✔ Re-test signal if you relocate or remodel nearby structures
📦 Where to Buy the Starlink Wall Mount Kit
📍 Purchase directly from the Starlink Shop or authorized resellers
🔗 [foxacnet.com]
💬 Need help with your install? Our certified technicians offer safe, affordable setup in your area.
✅ Conclusion
The Starlink Wall Mount Kit is a simple, secure, and effective way to optimize your satellite internet setup. Whether you’re a homeowner, traveler, or remote worker, it ensures your dish is properly positioned for strong, uninterrupted connectivity.
📌 Upgrade your installation with the right hardware—choose the Starlink Wall Mount Kit today!
Leave a Reply