
Your cart is currently empty!
Why You Need a Starlink Roof Mount Kit
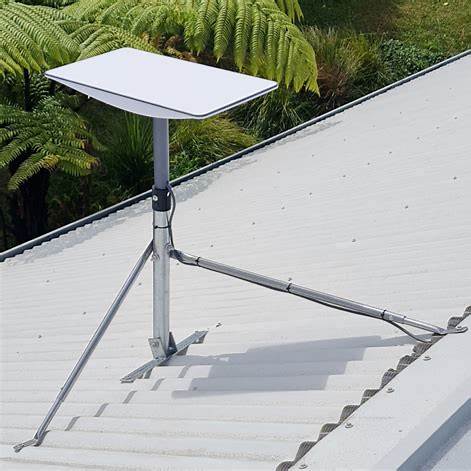
For optimal satellite internet performance, proper dish placement is essential. The Starlink Roof Mount Kit helps you install your Starlink dish on your rooftop, ensuring clear sky visibility and stronger connectivity with SpaceX’s satellite network.
A professionally installed roof mount kit minimizes obstructions, protects your equipment, and delivers stable, high-speed internet for homes, RVs, and businesses.
In this guide, we’ll cover:
✅ Benefits of using a Starlink Roof Mount Kit
✅ Step-by-step installation process
✅ Best Starlink roof mounting options
✅ Where to buy and get installation assistance
🔹 Benefits of Installing a Starlink Roof Mount Kit
Installing your Starlink dish on the roof provides several key advantages:
✔ Unobstructed Signal Reception – Ensures a clear line of sight for better connectivity.
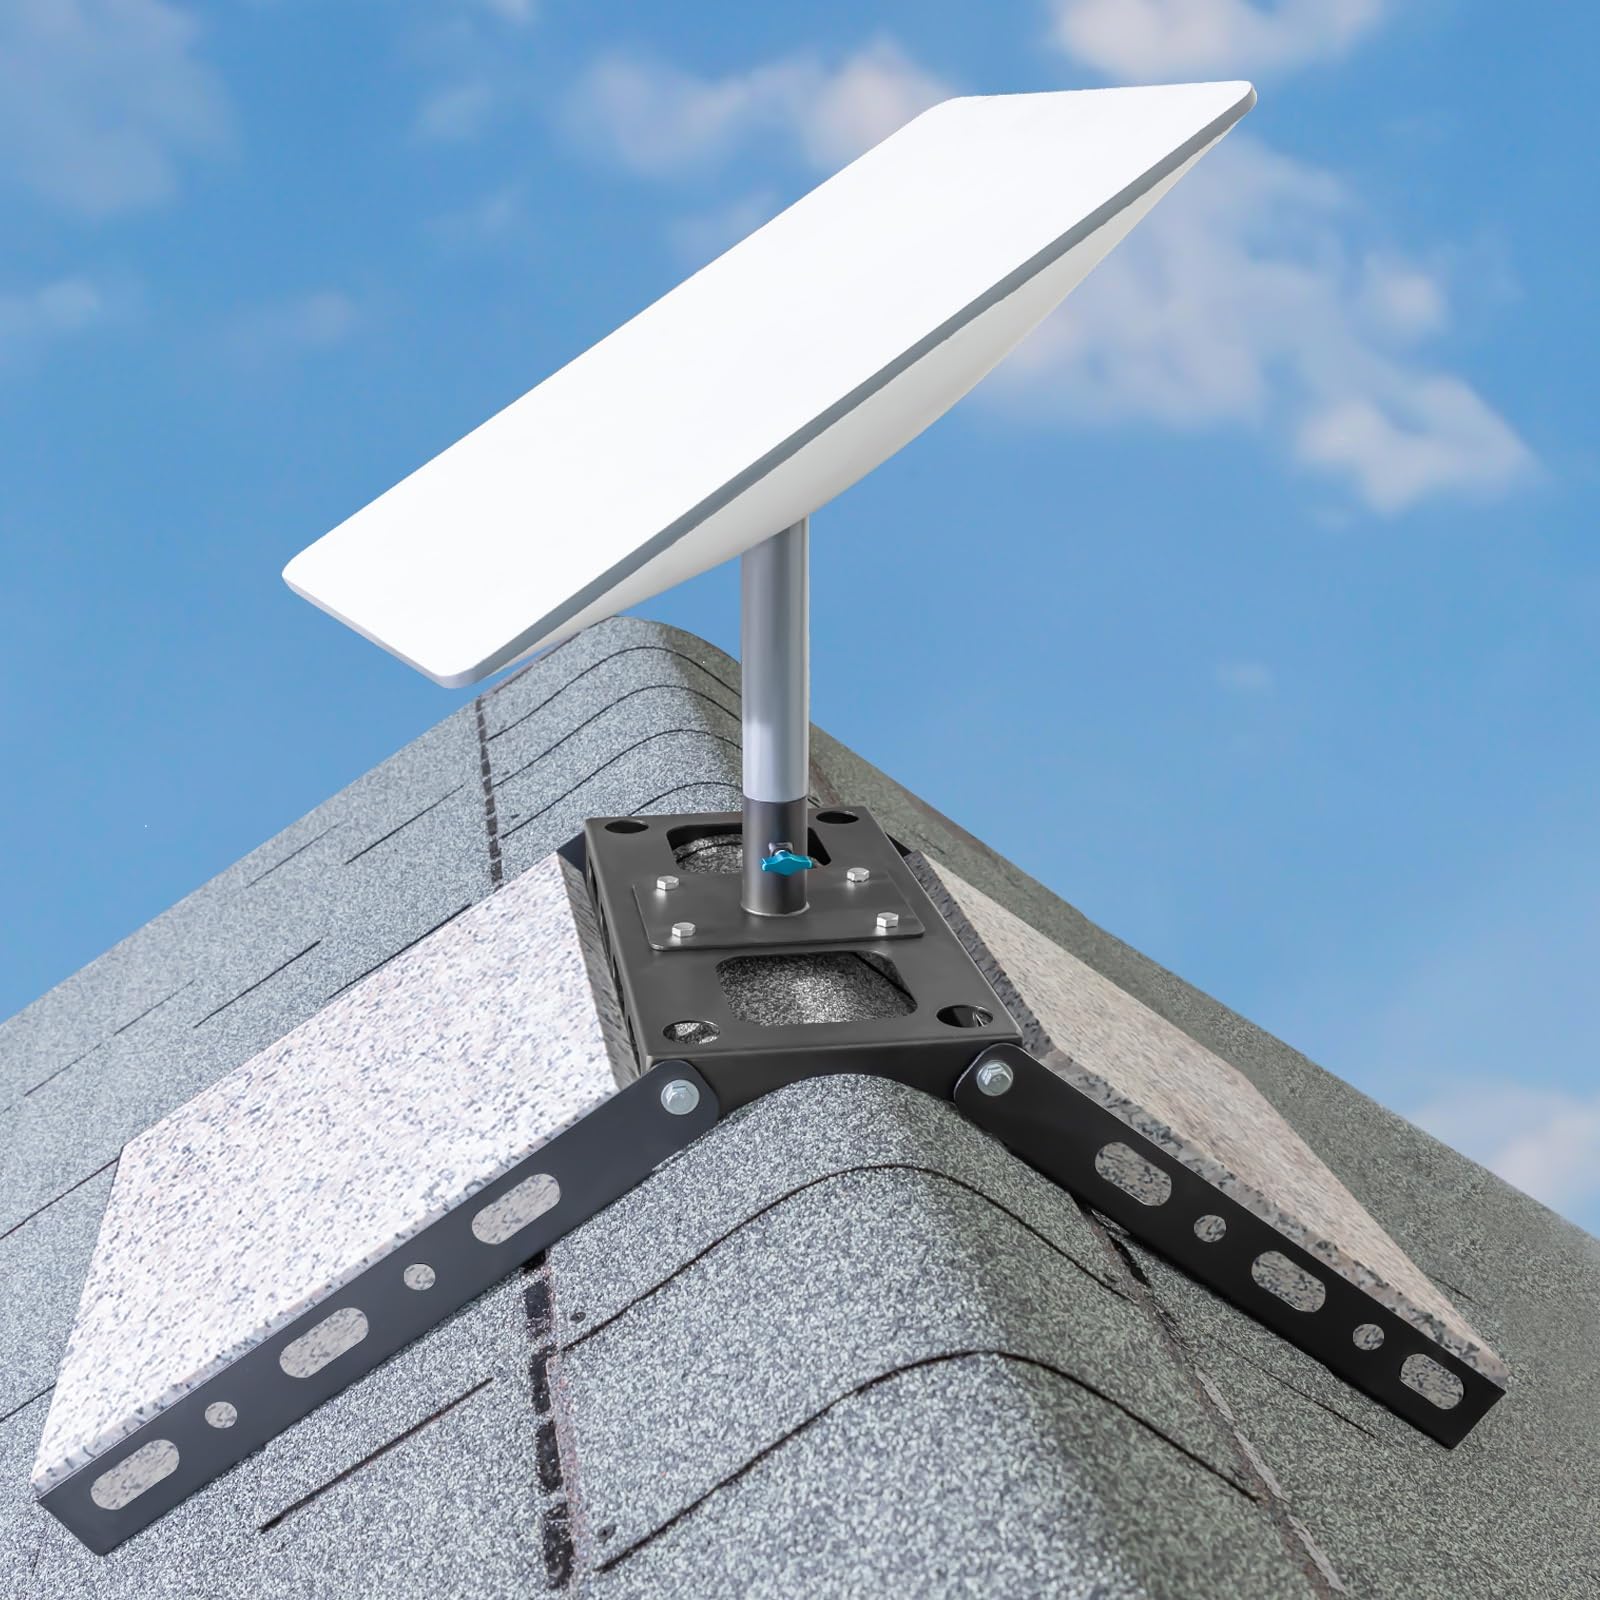
✔ Stable & Secure Installation – Protects your dish from strong winds and movement.
✔ Better Internet Speeds – Reduces latency and connection drops.
✔ Space-Saving Setup – Keeps your yard and ground area free from clutter.
✔ Weather-Resistant Design – Provides durability against rain, snow, and wind.
📌 Tip: The Starlink app includes a sky visibility checker to find the best rooftop position for installation.
🛠 How to Install a Starlink Roof Mount Kit
✅ Step 1: Choose the Right Mount Kit
Before installation, determine the best roof mount type based on your needs:
✔ Pivot Mount – Adjustable and works well on most rooftops.
✔ Volcano Mount – Provides extra stability, best for high-wind areas.
✔ Flashing Mount – Designed for waterproof protection on shingled roofs.
✔ Non-Penetrating Mount – Ideal for renters; no drilling required.
✅ Step 2: Prepare the Roof & Check Alignment
🔹 Use the Starlink app to check for clear sky visibility.
🔹 Ensure your roof surface is clean and stable before mounting.
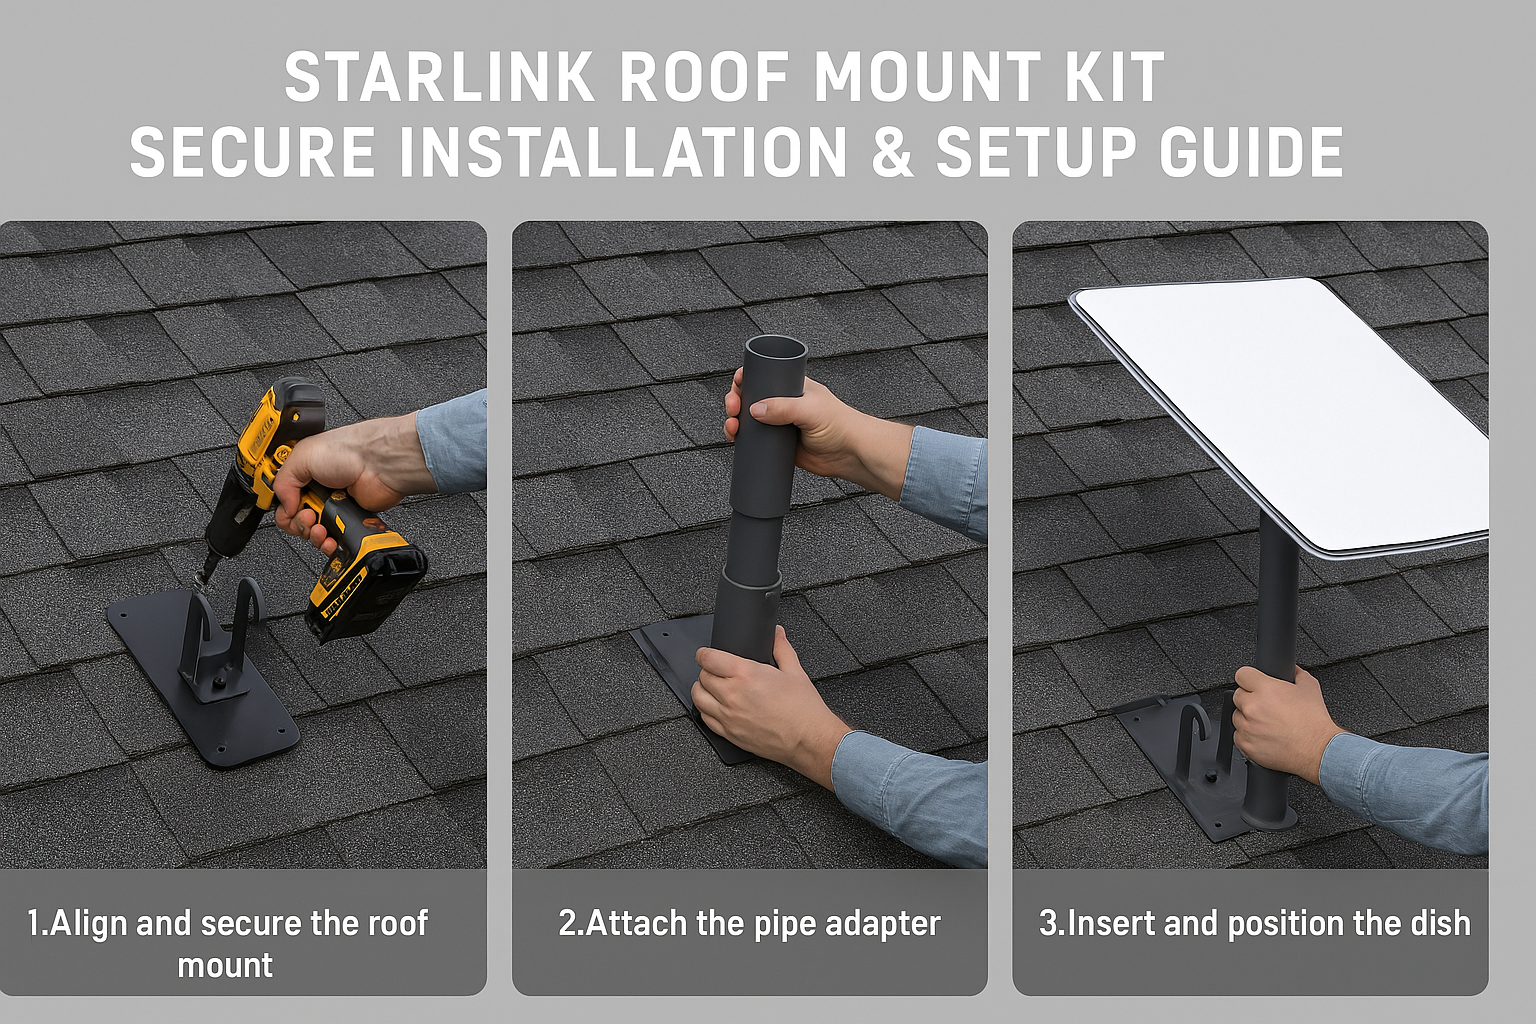
✅ Step 3: Secure the Mount & Attach the Dish
🔹 Drill and secure the mounting brackets with weather-resistant screws.
🔹 Attach the Starlink dish firmly to prevent movement.
✅ Step 4: Run the Starlink Cable & Connect the System
🔹 Route the cable neatly along the roof edges and into your home.
🔹 Plug the Starlink router into power and connect to the satellite network.
💡 Test your internet speeds and adjust the dish if needed for optimal signal reception.
✔ Starlink Pivot Mount – Versatile & easy to install on different roof types.
✔ Volcano Mount Kit – Best for extreme weather conditions.
✔ Non-Penetrating Roof Mount – Ideal for rental homes & temporary setups.
✔ Adjustable Pole Mount – Great for custom angles & directional adjustments.
📌 Need help choosing the right mount? Contact our experts!
📦 Where to Buy & Get Installation Services
📍 Get your Starlink Roof Mount Kit at:
🔗 [foxacnet.com]
📞 Need installation assistance? Our professional team can set up your Starlink securely and efficiently.
📌 Enjoy fast, uninterrupted satellite internet with a Starlink Roof Mount Kit!
#StarlinkRoofMount #StarlinkInstallation #SatelliteInternet #StarlinkAccessories #FastInternet
Leave a Reply