
Your cart is currently empty!
Why You Need a Starlink Cable Extension Kit
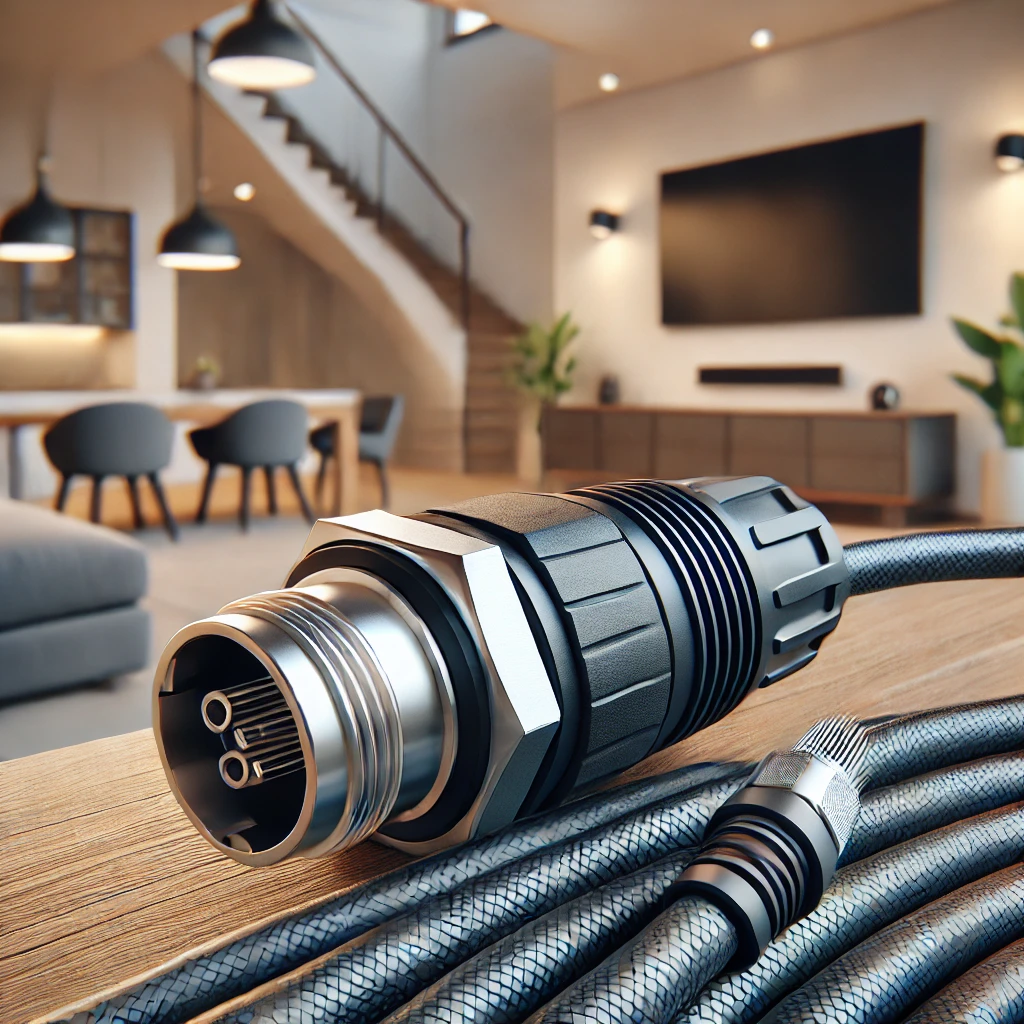
The Starlink Cable Extension Kit is an essential accessory for improving satellite internet connectivity when your standard cable isn’t long enough. Whether you need to place your Starlink dish on a rooftop, a higher elevation, or a distant location, this extension kit ensures a stable and uninterrupted connection.
In this guide, we’ll cover:
✅ What the Starlink Cable Extension Kit includes
✅ Step-by-step installation process
✅ Best use cases for extended cables
✅ Where to buy and get installation assistance
 🔹 Benefits of Using a Starlink Cable Extension Kit
Installing your Starlink dish in the optimal location is crucial for achieving maximum speed and stability. A cable extension kit allows you to:
✔ Increase Cable Length – Place your Starlink dish farther from obstructions for better signal reception.
✔ Reduce Connectivity Issues – Minimize latency and dropouts by positioning your dish in the best spot.
✔ Flexible Installation Options – Mount your dish on rooftops, poles, or higher ground with ease.
✔ Weatherproof & Durable – Designed to withstand outdoor conditions for long-term reliability.
✔ Seamless Compatibility – Works with all Starlink models (Residential, Roam, Business).
📌 Tip: Use the Starlink App’s obstruction checker to find the best installation point for your dish.
🛠 How to Install a Starlink Cable Extension Kit
✅ Step 1: Choose the Right Cable Length
🔹 Starlink offers various cable lengths, including 50ft, 75ft, and 150ft.
🔹 Measure the distance from your dish to the Starlink router before purchasing.
✅ Step 2: Power Down Your Starlink System
🔹 Unplug the Starlink router from the power source.
🔹 Ensure all cables are disconnected before proceeding.
✅ Step 3: Connect the Extension Cable
🔹 Attach one end of the extension cable to the Starlink dish.
🔹 Secure the other end to the Starlink router’s PoE (Power over Ethernet) port.
🔹 If using an Ethernet adapter, connect it to the router first.
✅ Step 4: Secure the Cable for Protection
🔹 Run the cable along the wall, roof, or underground conduit to prevent damage.
🔹 Use cable clips to keep the extension secure and avoid tripping hazards.
✅ Step 5: Power On & Test Your Connection
🔹 Restart your Starlink system and check for signal stability.
🔹 Use the Starlink App to monitor performance and adjust if needed.
📌 Pro Tip: Avoid running the cable near high-power electrical lines to reduce interference.
 🔍 Best Starlink Cable Extension Kits for Seamless Connectivity
✔ Starlink 50ft Cable Extension Kit – Ideal for short-distance extensions.
✔ Starlink 75ft Cable Extension Kit – Great for rooftop and pole installations.
✔ Starlink 150ft Cable Extension Kit – Best for long-distance setups with maximum flexibility.
📌 Need help choosing the right extension kit? Contact our experts!
📦 Where to Buy & Get Installation Assistance
📍 Get your Starlink Cable Extension Kit at:
🔗 [foxacnet.com]
📞 Need installation assistance? Our professional team can set up your Starlink cable extension securely and efficiently.
📌 Extend your Starlink connectivity today for better internet performance!
#StarlinkCableExtension #StarlinkSetup #SatelliteInternet #StarlinkAccessories #FasterInternet
Leave a Reply